Case study summary: This Auckland washing-machine leak case study documents a timber-floor drying setup. The two source clips show commercial drying equipment positioned across the affected timber-floor area. Because the footage is a snapshot of the setup—not a final inspection—the article separates confirmed case facts from the checks that must be recorded on site.
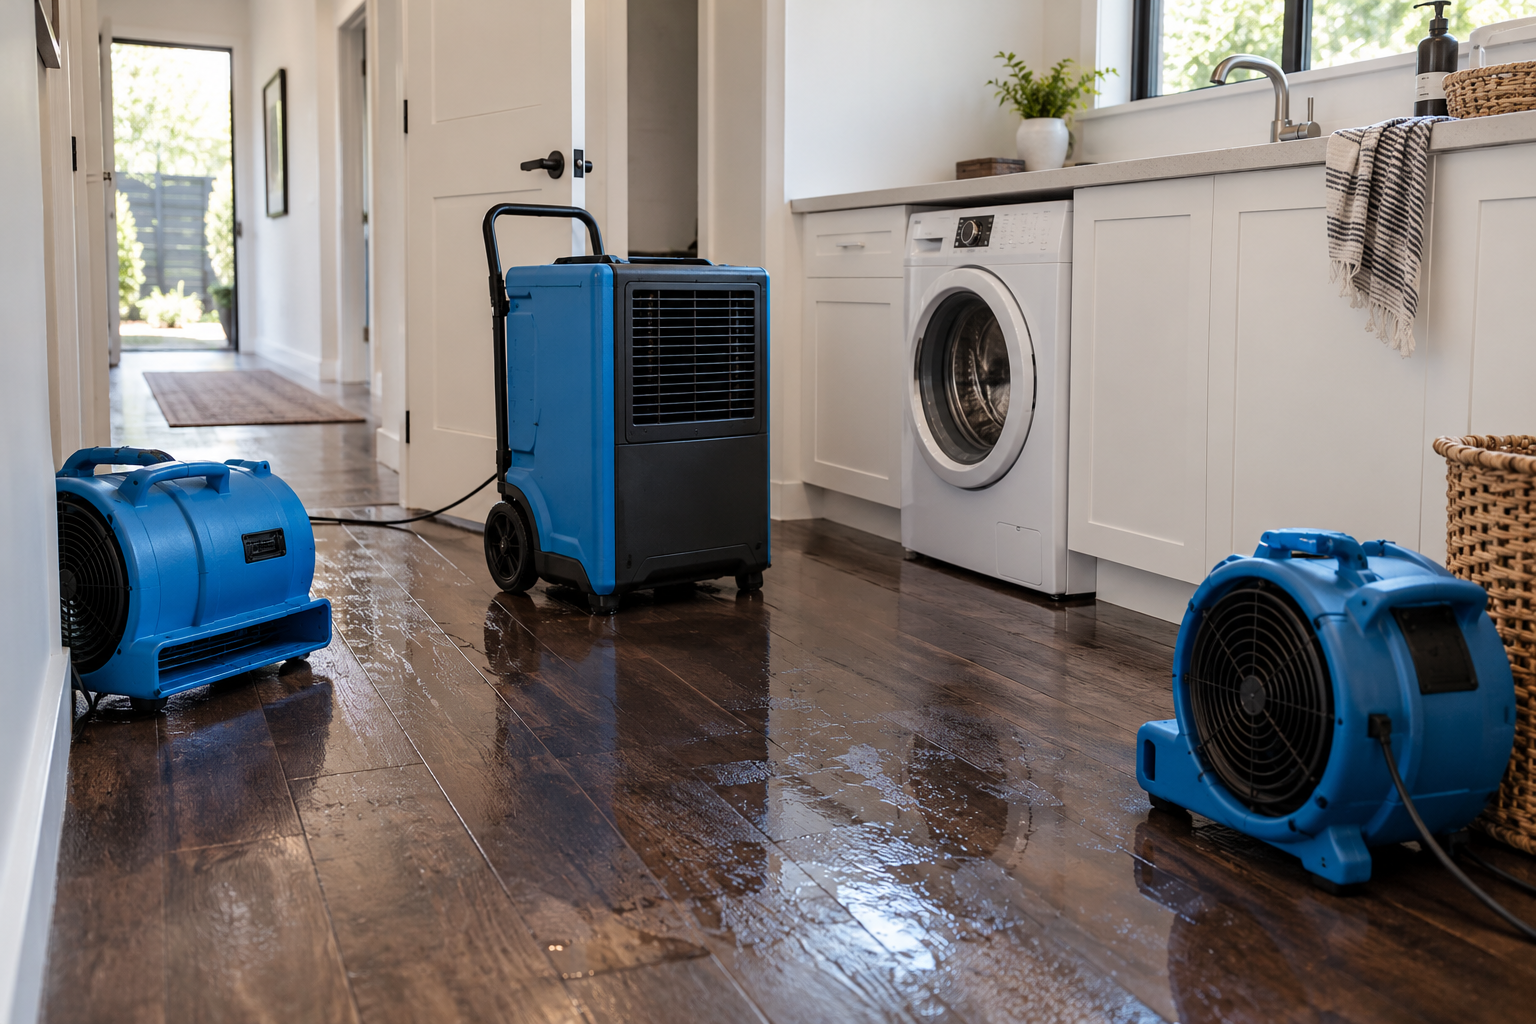
Case file: confirmed details
source video clips
each clip
commercial dehumidifier
drying fans
Confirmed from the source footage and standard hire package. The footage does not establish the leak volume, floor area, initial moisture values, drying duration, repair cost, or insurance outcome.
What happened and what the videos prove
A washing-machine leak affected the timber-floor area shown. The clips verify that a commercial drying setup was used; they do not prove when the leak began, how much water escaped, the moisture content of the flooring, or a final “dry” result. This matters for a credible restoration record: each conclusion should be supported by a dated inspection, a dry-reference comparison and a logged reading.
Response sequence: the first decisions that protect a timber floor
- Make the area safe. Isolate the washing machine or water source only if safe. Do not use damaged appliances, leads or outlets near water.
- Record before disturbance. Capture dated photos/videos, note discovery time, water source and materials touched.
- Remove free water. Extraction comes before air movement. Surface fans alone do not remove water trapped at board edges, under items or in adjacent linings.
- Map the wet boundary. Check timber boards, joins, perimeters, skirtings, adjacent wall linings and contents.
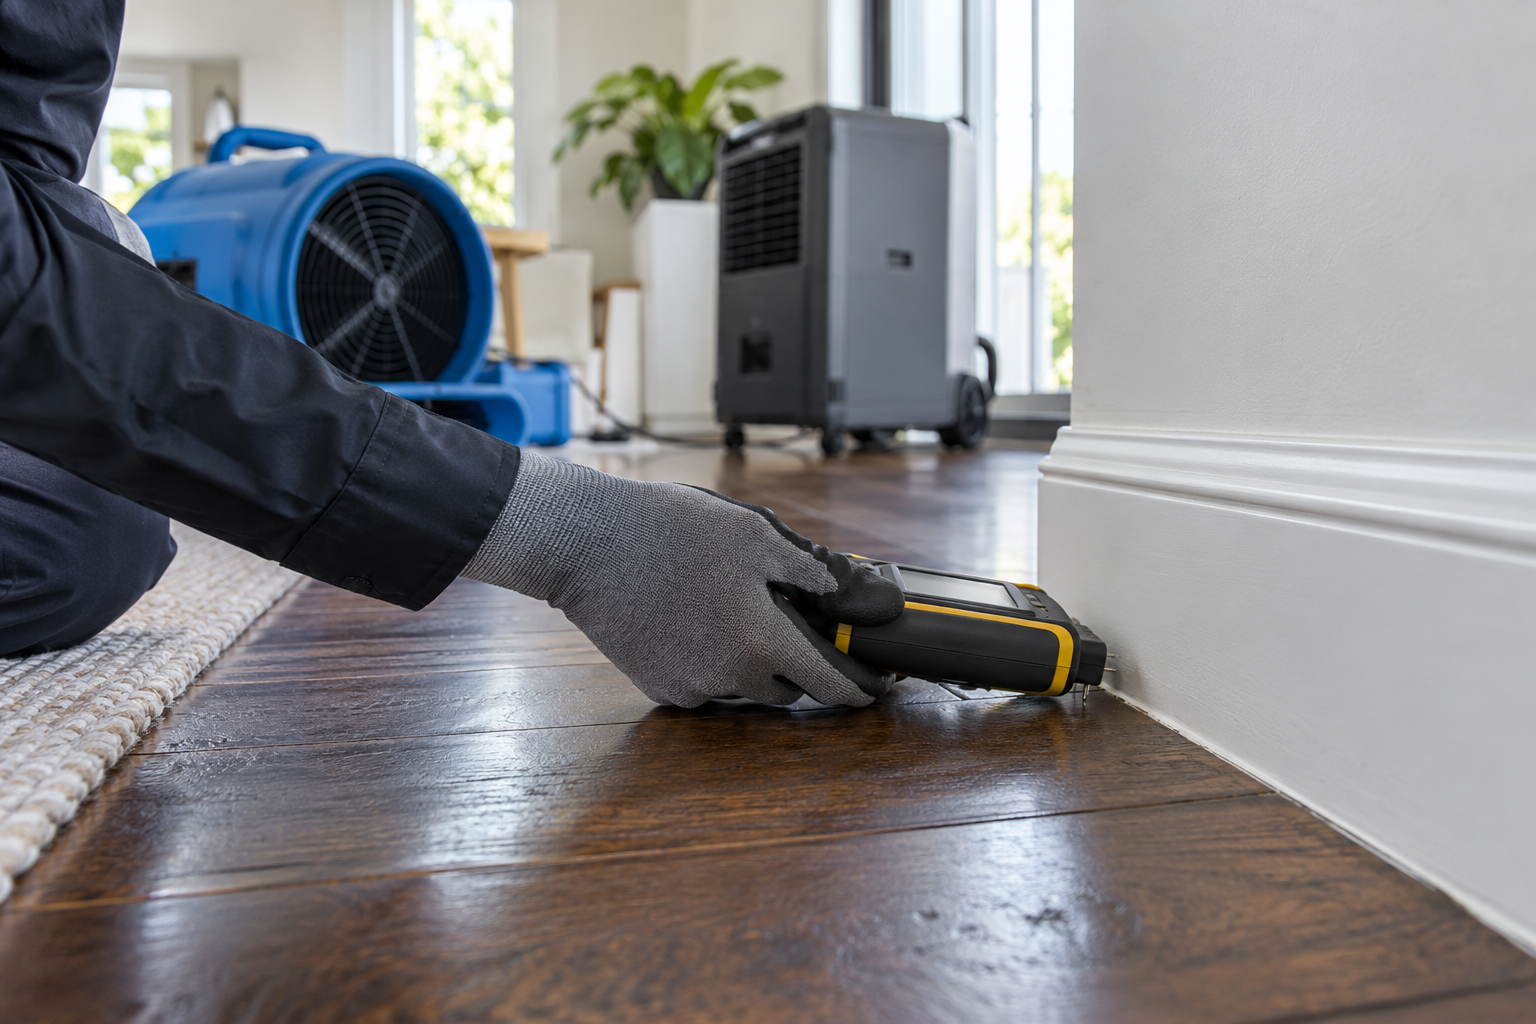
- Set and monitor drying. Position equipment, take baseline and dry-reference readings, then make adjustments from repeat results.
Why measured drying matters for timber
Timber may feel dry at the surface while moisture persists at joins, edges or adjoining materials. A proper record compares several affected locations with a suitable dry-reference area of the same or comparable material. The goal is a stable trend toward the reference condition—not an arbitrary moisture number lifted from another property.
Equipment and package numbers
Dry Me Now’s contained commercial drying package starts at $75 + GST per day, with a 3-day minimum, or $400 + GST for 7 days. It includes one 90L commercial dehumidifier, two drying fans, a moisture meter, an on-site thermal image test, and Auckland delivery and collection. Larger or more complex losses may need a separately assessed setup.
Hire-cost comparison
From $225 + GST — 3-day minimum at the stated daily starting rate
$400 + GST — 7-day package
This is package pricing, not a claim settlement, repair quote or the cost of this particular loss. “From” reflects the stated daily starting price.
Moisture-monitoring log: the numbers to collect
| Checkpoint | Record | Decision supported |
|---|---|---|
| Baseline | Date/time, instrument, affected location, reading and dry-reference reading | Defines the starting comparison. |
| Equipment setup | Dehumidifier count: 1; fan count: 2; positions and operating status | Shows what drying setup was in place. |
| Follow-up | Repeat readings at the same marked locations, plus any change in boundary | Shows whether the trend is improving or needs adjustment. |
| Completion check | Final comparison to dry reference, visual condition and unresolved concerns | Supports a measured handover—not a guess based on touch. |
Important: Actual readings are not available from the video and have deliberately not been invented. Add the property’s real baseline and follow-up readings to this log if they are available.
Drying workflow infographic
make safe
remove free water
map moisture
dehumidify + air movement
compare + document
Insurance-ready documentation
An insurer, assessor or property manager can usually understand a loss faster when the file contains a short, chronological evidence trail. It can include:
- Leak discovery time, source and immediate safety actions.
- The two original source videos and dated photos before and during drying.
- A simple floor plan or moisture map with marked reading points.
- Equipment list, placement notes, hire dates and invoices.
- Moisture log including dry-reference comparisons and final follow-up notes.
- Appliance details and a plumber’s or repair technician’s report, where applicable.
- A list of affected flooring, linings, cabinets and contents.
Cover, excess, repair approvals and claim outcomes always depend on the policy and insurer assessment. They should never be assumed from a drying setup alone.
Structural and mould-risk checkpoints
On a timber-floor loss, the most useful inspection questions are often not “does it look dry?” but “where could moisture have moved?” and “what has changed since the baseline?” Escalate for assessment if you see boards cupping, lifting, swelling or separating; softened or distorted skirtings/linings; a persistent musty odour; visible mould-like growth; or signs that moisture has entered a concealed cavity. Avoid painting, sealing or deodorising damp material instead of locating the moisture source.
Frequently asked questions
Can a timber floor be dry on top but wet beneath?
Yes. Joins, edges, removable coverings and nearby materials can retain moisture after the exposed surface feels dry. Compare multiple points with a dry-reference area.
How long will drying take?
There is no responsible fixed number for this property from the video. The duration depends on water quantity, materials, extraction, temperature, humidity, airflow and the trend in repeat readings.
Are two fans and a dehumidifier always enough?
They are the documented package setup, not a universal prescription. Equipment quantity and placement should match the measured scope of the loss.
Need a timber-floor drying plan in Auckland?
When you enquire, provide the leak source, discovery time, affected materials, what has been extracted, and any photos or readings. See our Auckland flood restoration service and first 24 hours after a water leak checklist.
Six practical perspectives on this timber-floor drying case
The same water-loss event looks different depending on who needs to make the next decision. These views make the case study more useful to homeowners, property managers, trades and insurers without claiming facts that the source footage cannot verify.
1. Homeowner perspective: stop a repeat leak
For a homeowner, the first priority is safety and preventing a second loss. Once the water source is isolated, retain the machine model, hose condition, connection details and any plumber’s findings. Before returning the machine to service, make sure the cause—not only the visible water—has been addressed. Keep a simple “before / during / after” photo record, especially where boards, skirtings or cabinetry were exposed.
2. Landlord or property-manager perspective: create a clear evidence trail
The management task is coordination: record the discovery time, advise occupants of practical safety steps, arrange appropriate assessment, keep contractors’ notes together and make sure access/equipment arrangements are documented. A short chronological file is easier to hand to an owner or insurer than scattered messages and images.
3. Plumber perspective: establish the source before closure
Drying equipment addresses the water already released; it does not diagnose an appliance, hose, valve, drain or supply connection. A plumber or qualified repair technician can identify the cause and document any repair. That report can help distinguish source repair from restoration, while avoiding assumptions about liability or cover.
4. Flooring-restoration perspective: dry first, then reassess condition
Drying may reduce the chance of permanent damage, but it is not a promise that every board or finish will be retained. After the moisture trend has stabilised, reassess for cupping, lifting, swollen joins, separation, finish damage and any affected edge details. The repair decision should be based on the condition of the material after measured drying—not on the equipment count alone.
5. Health perspective: watch for persistent damp conditions
Mould needs moisture to grow. A persistent damp or musty odour, visible mould-like growth, returning stains, soft linings or readings that do not trend toward the dry reference are reasons to investigate further. Cleaning or deodorising alone should not be used to hide a continuing moisture source. For extensive growth, contamination or concealed moisture, seek appropriate professional advice.
6. Evidence perspective: what the footage can and cannot prove
The two clips directly show: a timber-floor drying area and commercial equipment in place.
They do not prove: water volume, exact floor area, baseline or final moisture readings, drying duration, repair scope, claim approval or final cost.
Best practice: pair the footage with dated photos, a moisture map, equipment log, follow-up readings and relevant trade reports.
Decision-path infographic: who needs what next?
Stop source → record condition → retain repair evidence
Log timeline → coordinate access → retain all documents
Identify source → repair safely → issue report where relevant
Measure → dry → reassess timber condition
Chart: evidence strength by source
Direct visual evidence — source video footage
Measured evidence — moisture log, dry reference and repeat checks
Independent evidence — plumber, flooring or insurer documentation
Illustrative evidence map only; the bar lengths are not measured performance scores.
Chart: decision ownership after a washing-machine leak
| Decision | Primary evidence | Typical decision owner |
|---|---|---|
| Is the water source safe and repaired? | Inspection / repair report | Qualified plumber or appliance technician |
| Is the material returning toward its dry reference? | Logged baseline and follow-up readings | Drying professional / property owner |
| Is flooring repair or replacement needed? | Post-drying material condition | Flooring professional / owner / insurer where applicable |
| What is covered by the policy? | Policy terms and claim assessment | Insurer |
What would make this case study truly property-specific?
To upgrade the article from a documented setup to a full technical case record, add the actual date/time of discovery, affected floor area, moisture-meter type and readings, dry-reference locations, humidity/temperature notes, extraction and equipment runtime, follow-up dates, final condition, repair report and approved invoice/claim figures. Only then should a drying-trend chart or total-loss cost be published as this property’s result.
Provisional planning estimate for this documented drying setup
Estimate status: planning only. This is not a site measurement, repair quotation, insurer assessment or claim outcome. It is based solely on the documented commercial hire package in this case study.
| Item | Provisional figure | Basis and limitation |
|---|---|---|
| Commercial drying hire, 3-day minimum | From $225 + GST | 3 × stated starting rate of $75 + GST/day; actual setup may differ after assessment. |
| Commercial drying hire, 7-day package | $400 + GST | Published 7-day package price; use only if that package is selected. |
| GST-inclusive 7-day equipment amount | $460 | $400 plus 15% GST; excludes repairs, trade work, excess and claim adjustments. |
| Moisture condition | Not estimable from video | Requires instrument readings at marked locations and a dry reference. |
| Floor repair allowance | Not estimable from video | Requires post-drying inspection of the boards, joins, finish and any adjacent materials. |
| Insurance contribution | Not estimable from video | Depends on the policy, excess, cause, scope and insurer assessment. |
Planning takeaway: the only case-related financial figure currently supportable is the equipment hire package. Any total-loss, repair or claim number needs real inspection and documents before it can be stated.
Provisional cost visual
3-day equipment minimum: from $225 + GST
7-day equipment package: $400 + GST ($460 including GST)
Visualises equipment-hire planning figures only. It is not a property-repair or insurance chart.
Water Leak Evidence Pack: what to collect
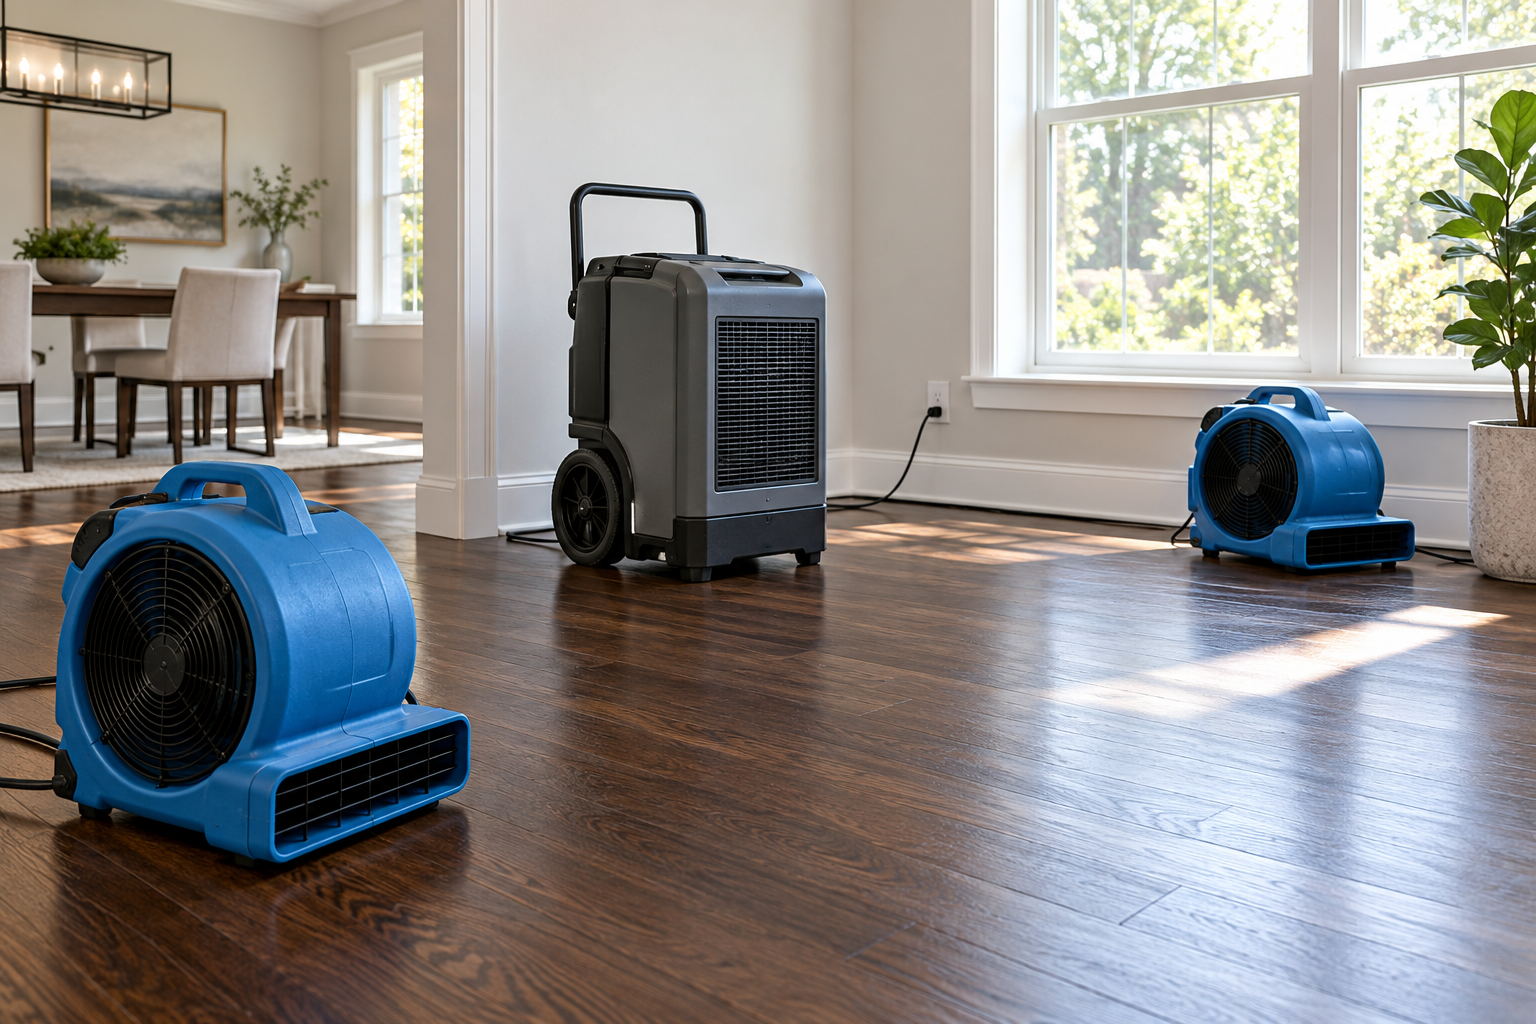
Pair actual photos and video with a date/time, the leak source, a moisture map, equipment placement notes and follow-up readings. This illustrative image does not replace measured verification.
Use this simple evidence pack to create a clear, chronological record after a washing-machine leak. It supports practical decisions and can make handover to a property manager, tradesperson or insurer easier.
Date/time, source, safety risk
Photos and original videos
Wet materials and moisture points
Equipment list and placement
Repeat readings and condition check
Invoices, reports and correspondence
Evidence pack checklist: leak timeline; original media; appliance/hose details; moisture map and dry-reference readings; equipment and hire record; plumber/repair report where relevant; flooring condition notes; invoices; and insurer communication.
Related recorded example: washing-machine leak across garage, hallway and bedroom carpet
This is a separate recorded Auckland example of water from a washing-machine leak affecting a garage, hallway and bedroom carpet area. It is included to show how water can travel beyond the appliance room. It is not evidence of the moisture readings, drying duration, repair scope or final result of the timber-floor case study above.
When water reaches carpet or underlay, airflow needs to reach accessible damp materials while a commercial dehumidifier controls the moisture released into the air. Read our wet-carpet fan guide and moisture-check guide before deciding that a surface is dry.