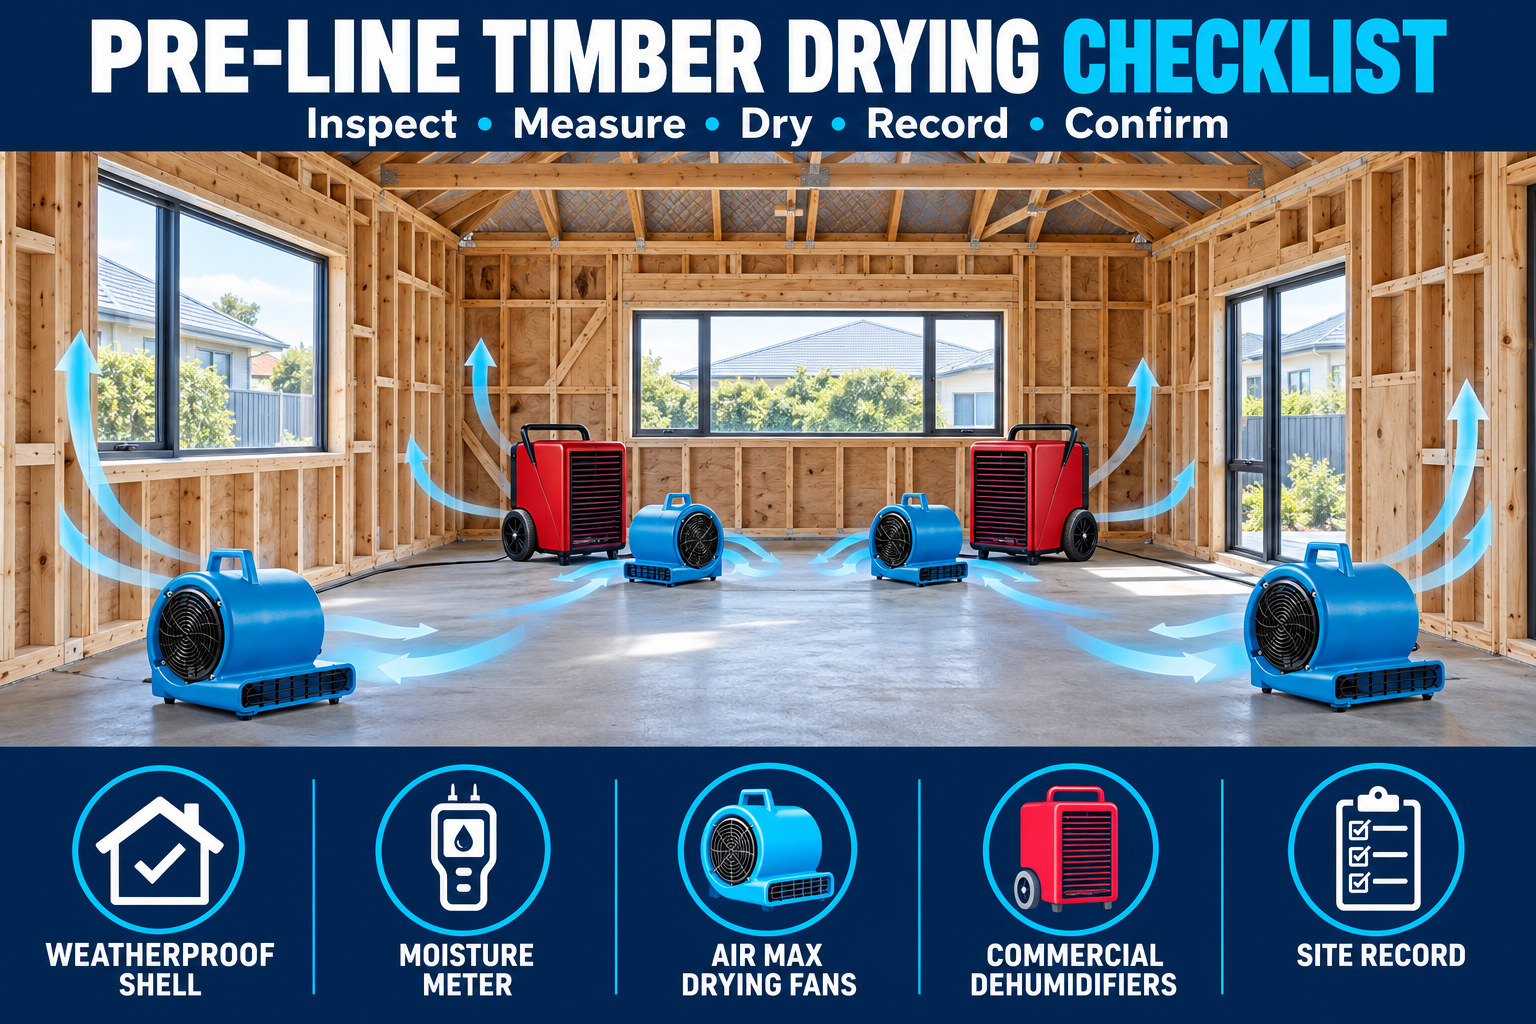
Quick answer: before internal linings are installed, timber framing needs to be dry enough for the applicable consent, project specifications, product requirements and inspection process. A useful pre-line check is not a single meter number: it is a repeatable record of where readings were taken, what material and meter were used, current site conditions, the drying setup and any follow-up work.
What this pre-line timber-frame checklist is for
Wet framing should be assessed before it is enclosed behind internal linings. Rain exposure before the exterior envelope was completed, stored moisture in treated timber, wet concrete or plaster, restricted airflow and a plumbing leak can all affect drying. Once the roof, exterior cladding and windows are complete, new outside moisture should be limited; the focus shifts to managing any remaining construction or water-event moisture inside the weatherproof shell. This guide helps builders and project managers create a useful site record and decide whether controlled drying equipment may be appropriate.
Important: this is practical guidance, not compliance certification. The right target and inspection requirements depend on the consent, project specifications, timber type, cladding stage, product manufacturers and the building consent authority. Confirm the requirements for the particular project before booking an inspection or installing linings.
1. When should you start a drying assessment?
Start promptly after substantial rain exposure, a plumbing leak, ponded water, a wet concrete or plaster phase, or whenever framing feels damp and the building cannot be kept reliably dry. Do not wait for timber to look dry on the surface: moisture can vary between wall locations, bottom plates, corners, sheltered areas and exposed elevations.
- First, control the source: repair the leak, improve weather protection, remove standing water and address drainage or access issues.
- Then assess the full drying zone: note which elevations, rooms and framing members were exposed, and whether water may have entered cavities, floor zones or services.
- Use controlled drying only where suitable: correctly positioned Air Max drying fans move air across exposed timber to support evaporation, while commercial dehumidifiers remove water vapour from the enclosed drying zone. The number and placement of each depend on the actual site conditions; equipment does not replace fixing the water source.
2. What do New Zealand guidance documents say?
The current Building Performance E2/AS1 information covers construction moisture. The associated acceptable-solution text sets maximum moisture-content conditions for timber framing at the time of internal linings, subject to the building type and NZS 3602; a manufacturer or project specification can require a lower figure.
For Auckland Council’s public preline-inspection booking guide, the January 2025 version says framing moisture must be 18% or less before internal linings for its preline building inspection. That is useful Auckland context, but it is not a substitute for checking the current consent documentation, inspection booking requirements and any lower manufacturer requirement for your exact build.
3. How to take readings that can be compared
Good records are more useful than an isolated number. Use the same meter and method throughout a check, record the location clearly and compare affected framing with a suitable dry reference of the same framing type where practical.
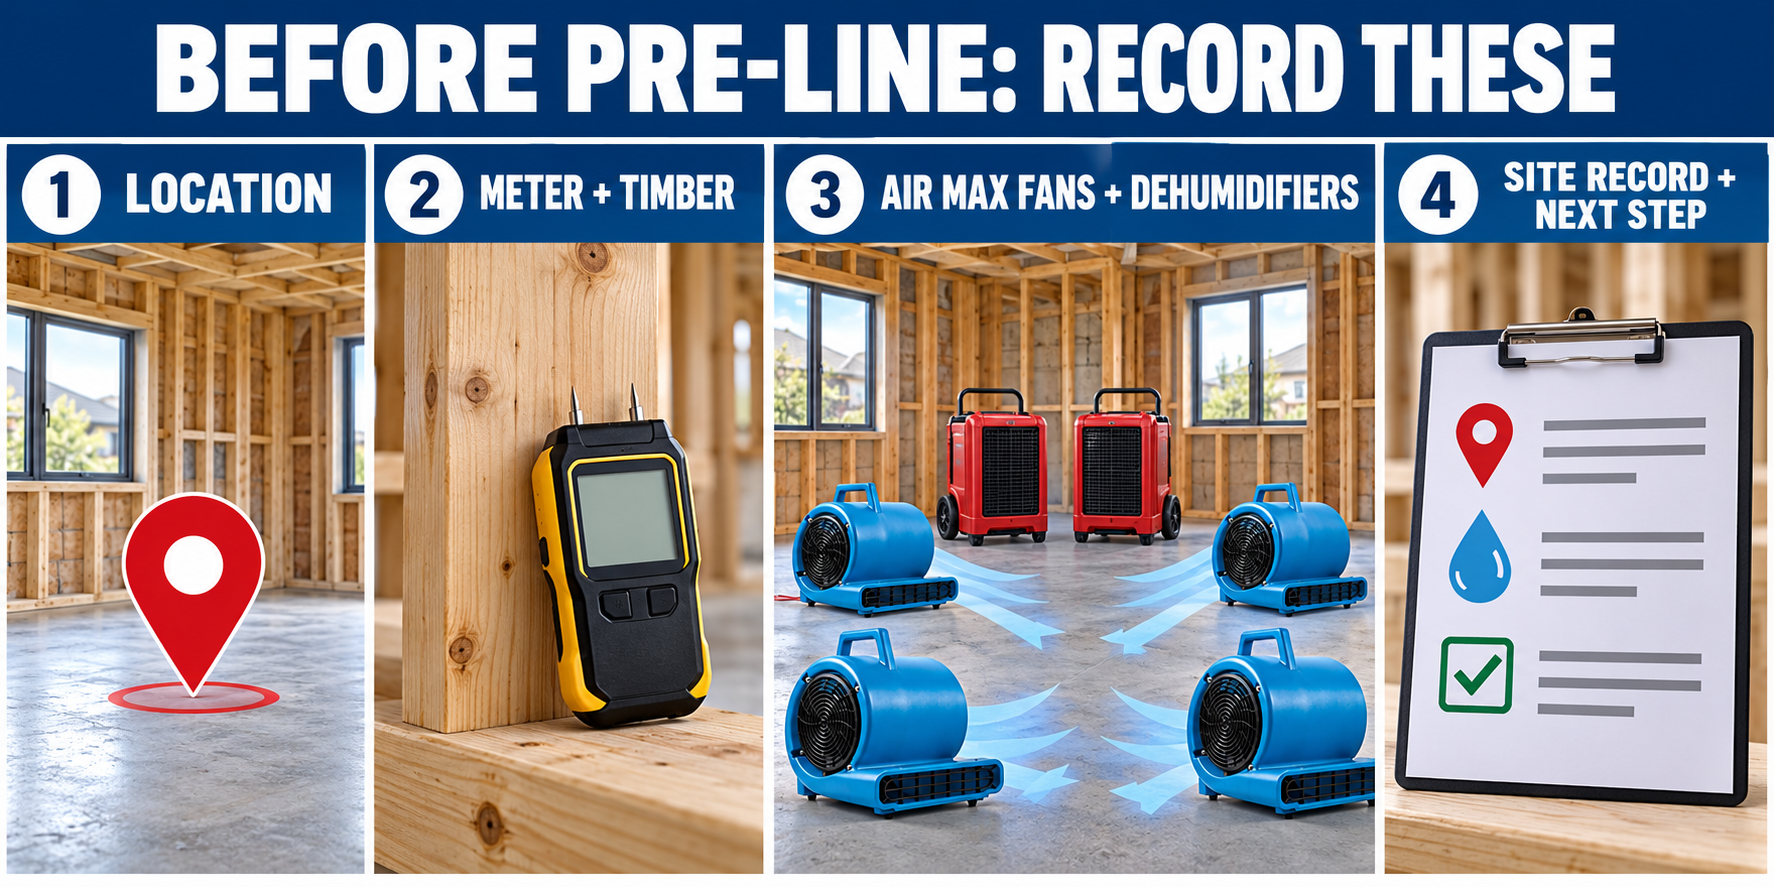
| Record | Why it matters |
|---|---|
| Date, time and weather/site condition | Shows whether readings followed rain, drying or a change in weather protection. |
| Room, elevation and framing-member location | Makes it possible to return to the same stud, plate, lintel or corner. |
| Meter type and material | Different meters and treated or engineered timber can need different handling and corrections. |
| Representative readings and dry comparison point | Helps identify whether the affected zone is moving toward a comparable dry condition. |
| Site record and drying setup | Records the affected locations, access, Air Max fan and dehumidifier placement, and changes over time. |
| Follow-up action | Shows whether a leak was repaired, weather protection improved or an assessment was escalated. |
E2/AS1 describes electrical-resistance meter use, representative sampling, calibration and factors such as timber species, temperature and treatment. Follow the meter instructions and project requirements; do not rely on one reading or a visual surface check alone.
4. What should be handed to the builder, project manager or inspector?
Ask the project team what they require. A practical pack usually includes a simple site plan or location schedule, dated readings, the meter and method used, recent weather or water-event notes, a record of Air Max fan and dehumidifier placement, evidence that the source has been controlled and a clear note of any remaining concern. Keep it factual: do not label a site “passed”, “Council-ready” or “dry” unless the authorised project party has made that decision.
5. When equipment hire may help—and when it is not enough
For a contained construction-moisture issue after the water source has been controlled and the building is weatherproof, multiple correctly positioned Air Max drying fans can move air across exposed timber while commercial dehumidifiers remove water vapour from the enclosed drying zone. Equipment selection, quantities and placement depend on building volume, open versus contained framing, temperature, ventilation, weather protection and material condition—not only floor area. The illustration shows a possible managed layout, not a fixed package or a promised drying outcome.
See Timber Frame Drying Auckland for the equipment-hire service, and the Two-Level Drying Vortex case study for an illustrative airflow setup across separate drying zones.
Escalate beyond equipment hire if any of these apply
- The water source has not been found or stopped.
- There is an electrical safety concern, contamination, mould growth or a plumbing failure.
- Water may have entered enclosed cavities, subfloors, multiple levels or structural connections.
- Readings remain inconsistent or high compared with suitable dry reference material.
- There is uncertainty about consent conditions, project specifications, inspection requirements or whether materials must be opened for assessment.
For a water event that has travelled beyond a contained construction zone, see Flood Restoration Auckland. For an overview of drying equipment, placement and moisture checks, see How Dry Me Now Works.
Frequently asked questions
Is one moisture reading enough before pre-line?
No. Use representative readings from identified locations, record the method and compare affected material with an appropriate reference where possible. One number cannot describe the condition of an entire build.
Can a dehumidifier prove the timber is ready to line?
No. A dehumidifier is equipment that may support drying. Readings, project documentation and the appropriate inspection process determine the next step.
Why use Air Max drying fans with commercial dehumidifiers?
Fans move air across exposed timber to support evaporation; dehumidifiers remove the resulting water vapour from the room. In a weatherproof building, pairing them can support a more controlled drying zone. The suitable number and placement depend on the actual site, so confirm the setup before hire.
Should windows be left open while drying framing?
It depends on site weather, security, containment and the drying plan. Uncontrolled outdoor air can add moisture on a damp Auckland day. Confirm the suitable approach for the site rather than using a blanket rule.
What is a useful next step after wet-weather exposure?
Control the water source and weather exposure, record the affected areas, collect repeatable readings, then decide with the project team whether managed drying, more assessment or an inspection booking is appropriate.
Need a practical timber-drying plan?
Dry Me Now supplies commercial dehumidification and airflow equipment for Auckland construction drying. Discuss the framing, access and current site conditions before arranging equipment, so the setup can be matched to the job rather than guessed.
Sources and further reading
- Building Performance: E2/AS1 External Moisture
- Auckland Council: Guide to Booking Inspections (January 2025)
- BRANZ: Treated Timber Storage and Preparation
Recorded timber-frame drying setup clips
These four short clips show different views of equipment placement and accessible timber framing during drying work. They are illustrative of the setup stage only; they do not replace site-specific measurement, builder documentation or pre-line release requirements.
Placement view: equipment positioned in an accessible framing zone.
Air-movement view: drying equipment arranged to support circulation around accessible materials.
Drying-zone view: a controlled setup before internal linings are installed.
Check view: accessible framing reviewed during the drying process.
The builder or project manager should retain the actual reading locations, dry-reference values, dates, meter method, equipment notes and any required inspection documentation. This guide is not a pre-line sign-off. For airflow-layout context, see the timber-frame drying vortex case study.